How to record your e-kit best at home
You no longer have to go to a professional studio only to record drums. Simultaneously, recording drums at home can have many issues and difficulties. Not to mention the miles of cables and endless microphones needed to get started. E-kits make it easier than ever to take what you have been practicing and record it straight onto your computer at home.
An obvious advantage to recording electronic drums at home is volume; the quiet nature of electronic drums means you can spend hours playing for the best take without disturbing the neighbors. The other advantage is how your e-kit produces sound. It is generated within the drum module and is not influenced by the size of the room, the acoustic treatment, or the lack thereof.
Though there is no alternative for the feel and experience of playing an acoustic kit, an e-kit offers an incredibly convenient and easy way to record demos, input your ideas and create content with little extra equipment.
Here, we will look at the two most common ways to record your e-kit; both methods use the same equipment but with very different approaches.
Equipment needed
Before we get onto the specific steps associated with both of the simplest ways of recording electronic drums, there are four things that you will need for both methods:
- Computer
- DAW (Digital Audio Workstation)
- E-kit (obviously)
- USB cable (USB A-B)
Excuse me what’s a DAW?
A DAW (Digital Audio Workstation) is software that allows you to record, mix, edit and export audio. They also often have built-in „virtual instruments“ that will enable you to create music using various sounds on your computer.
Some high-quality free DAW exists, including Garageband for Apple computers, Reaper or Audacity. These are fantastic for getting started with recording at home. Higher quality software with more features, including Logic Pro, Pro Tools, and Ableton Live.
Recording technique #1
Recording audio directly from your e-kit to the computer via USB
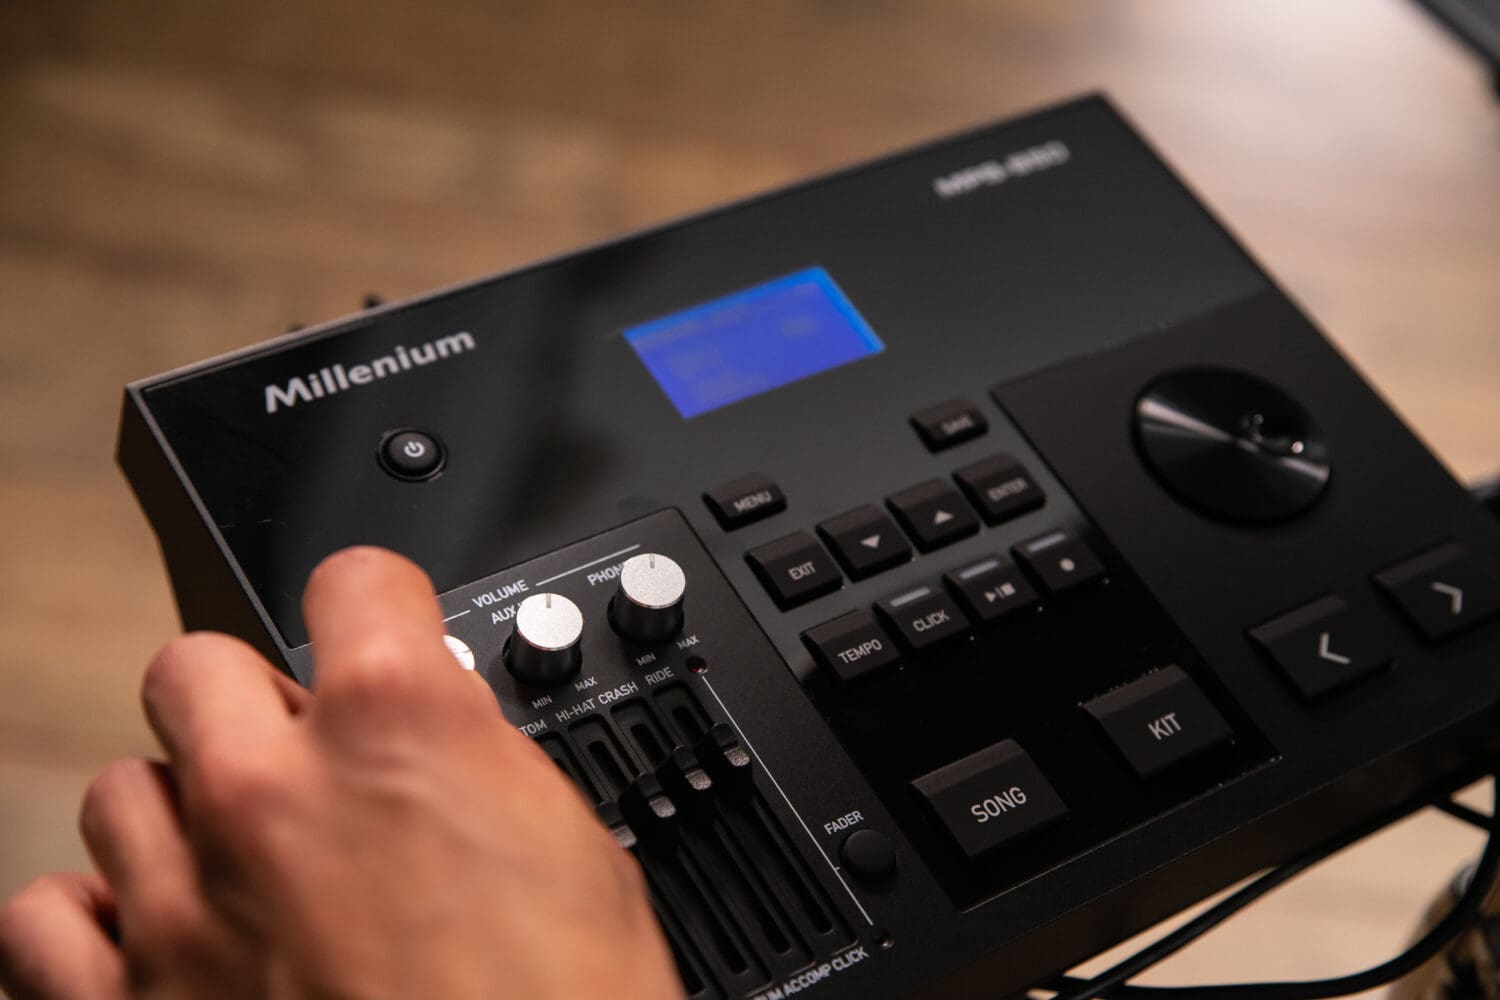
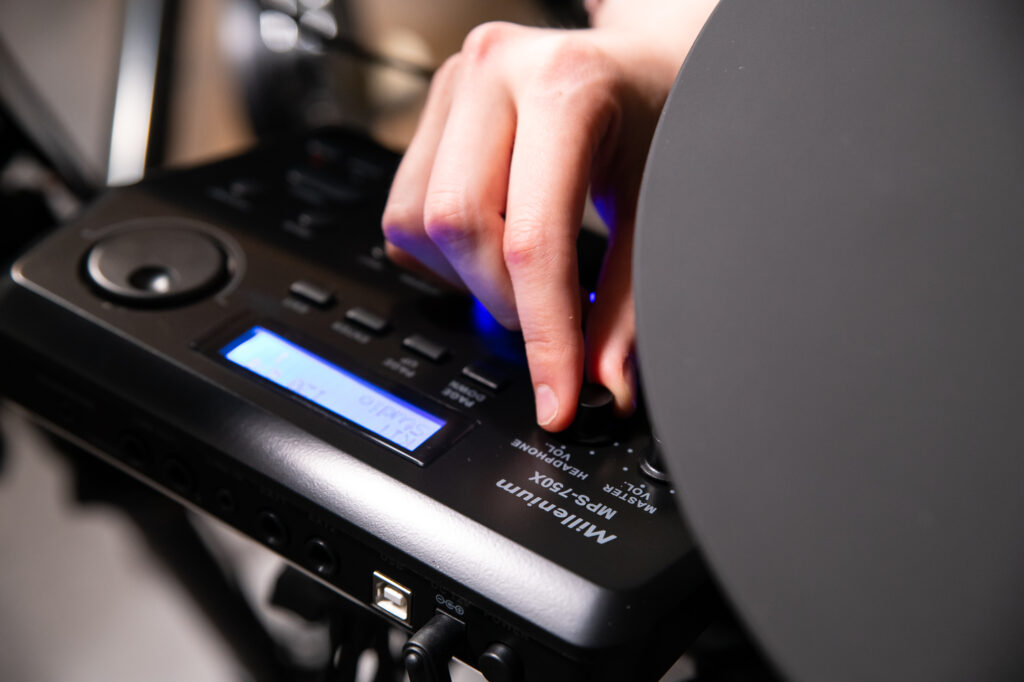
This is the easier of the two techniques, as here, we are utilizing the sounds created by the drum module. Usually, on the back of your module, you will find a USB output. With just a USB cable, you can connect the e-kit to your computer and DAW with the Module acting as the audio interface.
Instructions:
STEP 1: Boot up your laptop or desktop computer
STEP 2: Connect your electronic drum kit to your computer via USB cable
STEP 3: Install any necessary drivers for your computer to recognize your drum kit (you may have to visit the manufacturer’s website if this does not happen automatically)
STEP 4: Open your DAW! (we learned what that was earlier)
STEP 5: Follow your DAW’s instructions for recording audio
- Create a new audio track (add track or a + button)
- When you select the input of your track, choose the name of your electronic drum kit
- Play your e-kit to ensure a signal is coming through to your DAW
- Make sure the track is prepared for recording by pressing the red button commonly labeled R
- Press record
- Record the best drum grooves anyone has ever heard in their life

Recording technique #2
Recording drums using your e-kit connecting to your computer via MIDI
Recording your e-kit using MIDI ((Musical Instrument Digital Interface) is quite different from just recording the audio directly from your drum module. MIDI is a language that computers use to translate the digital information the pads from your drums create when hit.
Recording MIDI to your DAW allows you to use a drum kit VST (Virtual Studio Technology). This is usually a sample library with hundreds of sounds that can be used alongside your drum kit and played in real-time. In this case, your computer and DAW act as the drum module.
Using VSTs also brings lots of flexibility, allowing you to use the VSTs included with your DAW and external and 3rd party VSTs.
Instructions:
STEP 1: Turn on your computer
STEP 2: Connect your drum kit to your computer via MIDI using a USB cable; however, if your e-kit does not have a USB port, you can use a MIDI to USB converter
STEP 3: Open your DAW or stand-alone drum VST; if you are using a DAW, create a new ‘instrument MIDI track’ and select your preferred kit from the instruments
STEP 4: Follow your DAW or software instructions for correctly mapping the drum pads to the MIDI channels/instruments. Most of the time, this will work automatically; however, you may have to do this manually.
STEP 5: Press the record button
STEP 6: Rip a huge drum solo even Jorn Bonham would be proud of
Recording MIDI and audio will look slightly different, with audio showing the classic sound waves and MIDI showing strange blocks you might not have seen before. This is because when you are recording MIDI, you are recording a set of instructions to give to the virtual instrument, which creates the sound you hear.
Recording MIDI allows for much more flexibility in post-production, making quantizing (making this more in time) and changing the sound much easier and quicker!
This concludes the „Record your e-kit at home“-post! Be sure to check back soon for more exciting articles in the Millenium Drums Magazine, including New Products, Discover Articles, Education, and Support! Thank you very much for reading! In case of any questions, please don’t hesitate to reach out at Millenium Drums Contact!